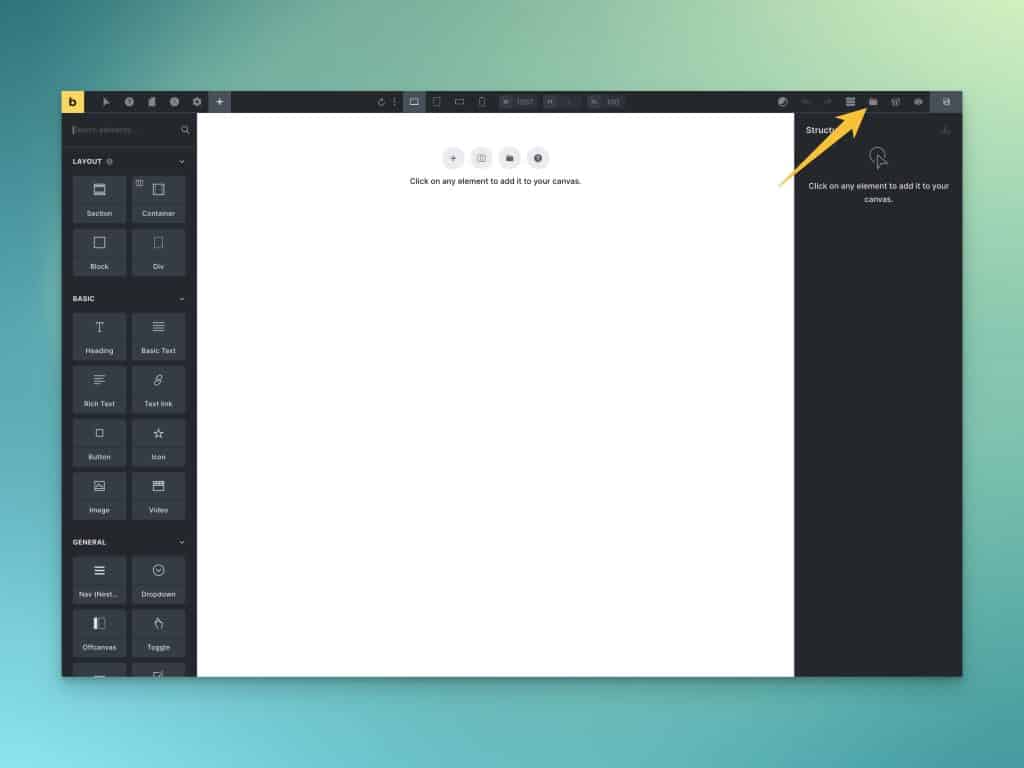
The Frames library is accessible from inside the builder, allowing you to add a frame anytime during your page-building workflow.
To add a frame to the canvas, click on the templates icon:

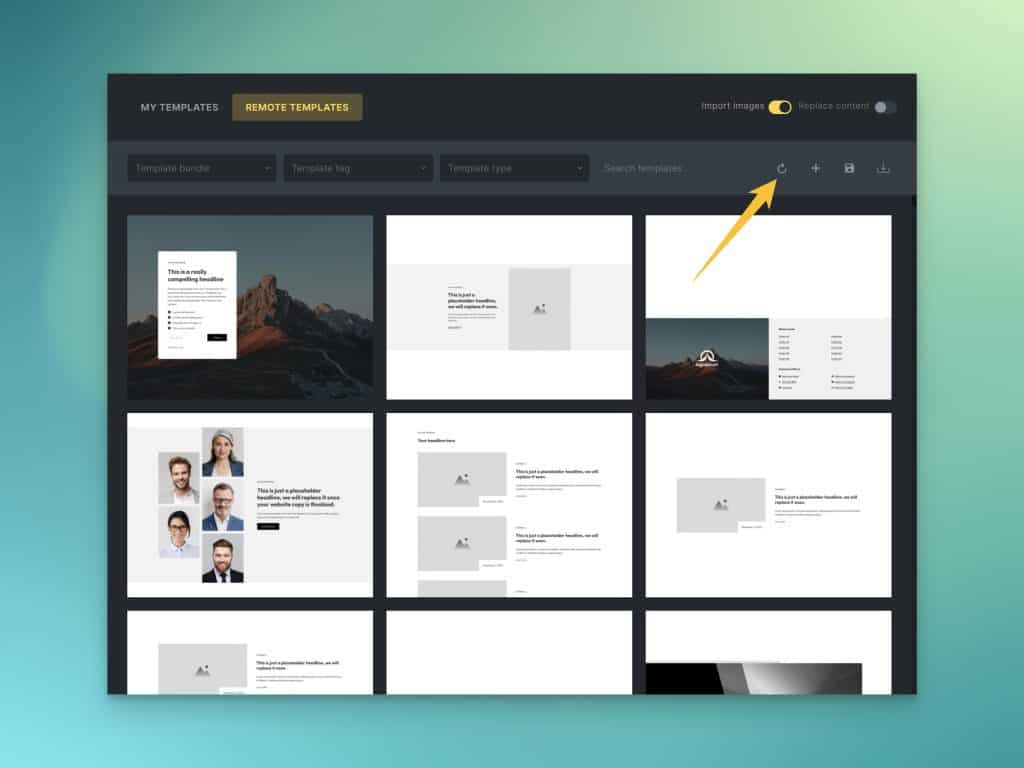
The templates modal consists of two tabs: “My Templates” and “Remote Templates.”
Frames is a remote template system, so you’ll need to select “Remote Templates” to view available Frames.
If this is your first time using Frames OR you haven’t accessed the library in a day or two, start by clicking the refresh icon to pull in all the latest updates.

Now that you’re viewing the latest version of the library, it’s time to find a Frame you’d like to use. There are three different ways to find Frames quickly:
- Template Bundle Filter – This dropdown allows you to sort Frames by category.
- Template Tag – This dropdown allows you to sort Frames by type.
- Search Templates – This field allows you to search for a Frame by name.
The “Template Type” dropdown is of no use. It’s a default dropdown provided by Bricks for the “My Templates” area. In Bricks, all remote templates must be typed as “Section” frames, so you can ignore this. The “Template Tag” dropdown serves as the Frame Type for our library.
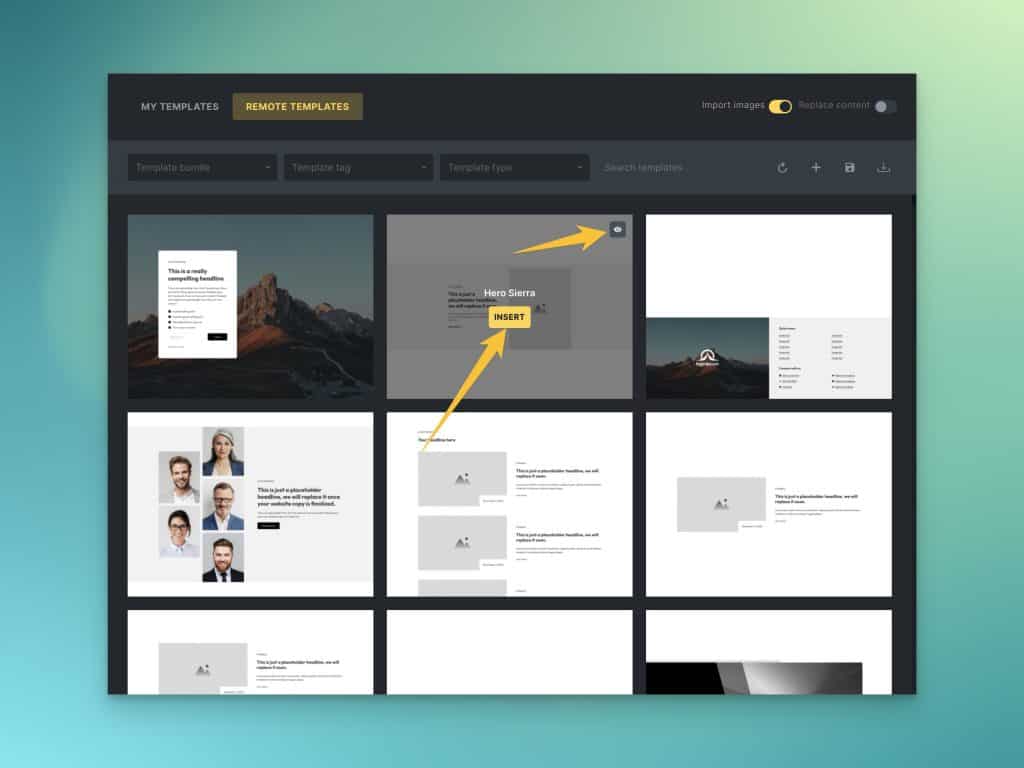
Hovering over a frame will reveal two buttons: an “Insert” button and a “Preview” button. Insert will add the Frame to your canvas. Preview will open a live preview of the frame via our source website.

Click insert to add the Frame to your canvas and then repeat the process to add additional Frames.