Any frame that contains dates or times uses the <time> element.
When the <time> element is used, you can also use the datetime attribute, which should already be added in the frame element and ready for a value.
Be aware that only certain machine-readable formats can be used for the datetime attribute.
For dates, Y-m-d (year, month, date) is acceptable.
For times, 24-hour time is acceptable.
Click on the element and then navigate to the Attributes area.
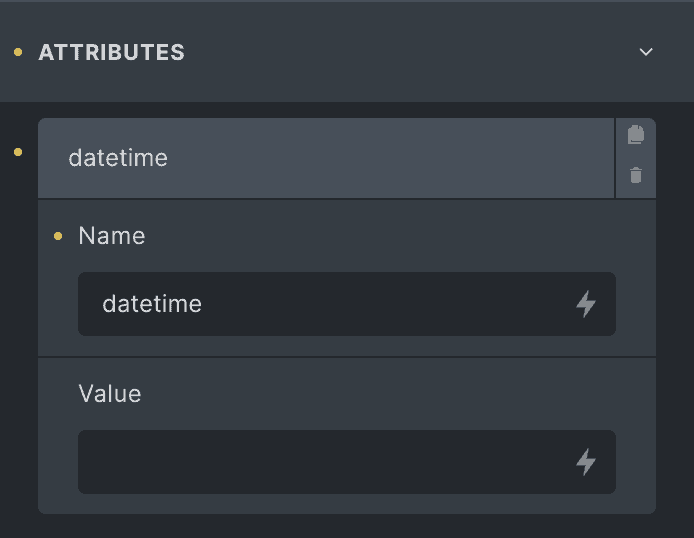
You should see the datetime attribute ready to go.
For Dates
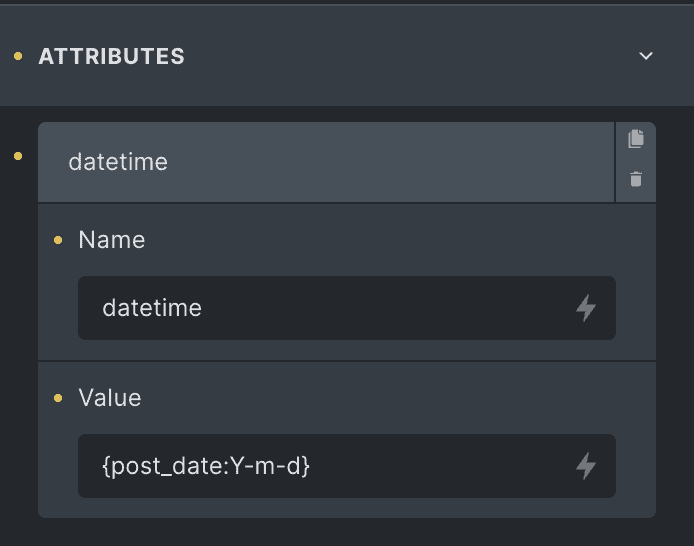
Choose the appropriate date input from the dynamic data dropdown (blog post cards may already be pre-configured).
The date data you choose depends on the type of frame you’re working with. Since we don’t know what you’re using the frame for, you need to make this choice on your own in many cases.
Once the date shortcode is inserted as the datetime value, append it by adding a colon followed by “Y-m-d“. This will transform the datetime value into machine readable format.
For Times
We recommend using 24-hour time format (e.g. “01:00” for 1am). You can optionally append other time-related data, such as time zones, by referencing date and time format options.
To insert time dynamically, make sure the custom field you’re pulling from is set to output in the appropriate format.
For Dates & Times Together
When using dates and times together, the date string should be separated from the time string by a “T”:
{event_date:Y-m-d}T{event_time}